I’m skeptical of anything that claims to make difficult things “easy.” Easy is relative. What’s simple for you might draw blood from me. And in my experience, when a product claims to make something “easy”, it’s talking about simplifying a subset of the broader, more complicated job-to-be-done.
So I won’t sit here and tell you that generative AI makes app modernization easy. Nothing does. It’s hard work and is as much about technology as it is psychology and archeology. But AI can make it easier. We’ll take any help we can get, right? I count at least five ways I’d use generative AI to make smarter progress on my modernization journey.
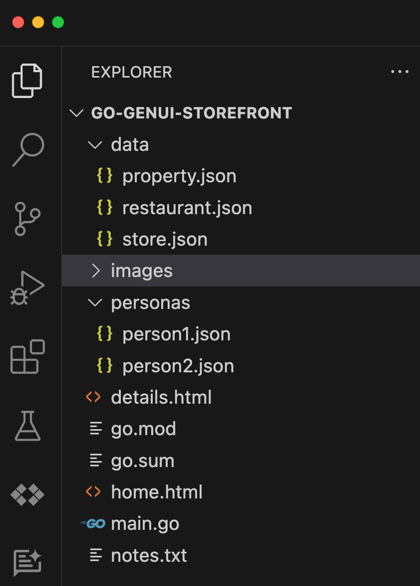
#1 Understand the codebase
Have you been handed a pile of code and scripts before? Told to make sense of it and introduce some sort of feature enhancement? You might spend hours, days, or weeks figuring out the relationships between components and side effects of any changes.
Generative AI is fairly helpful here. Especially now that things like Gemini 1.5 (with its 1 million token input) exist.

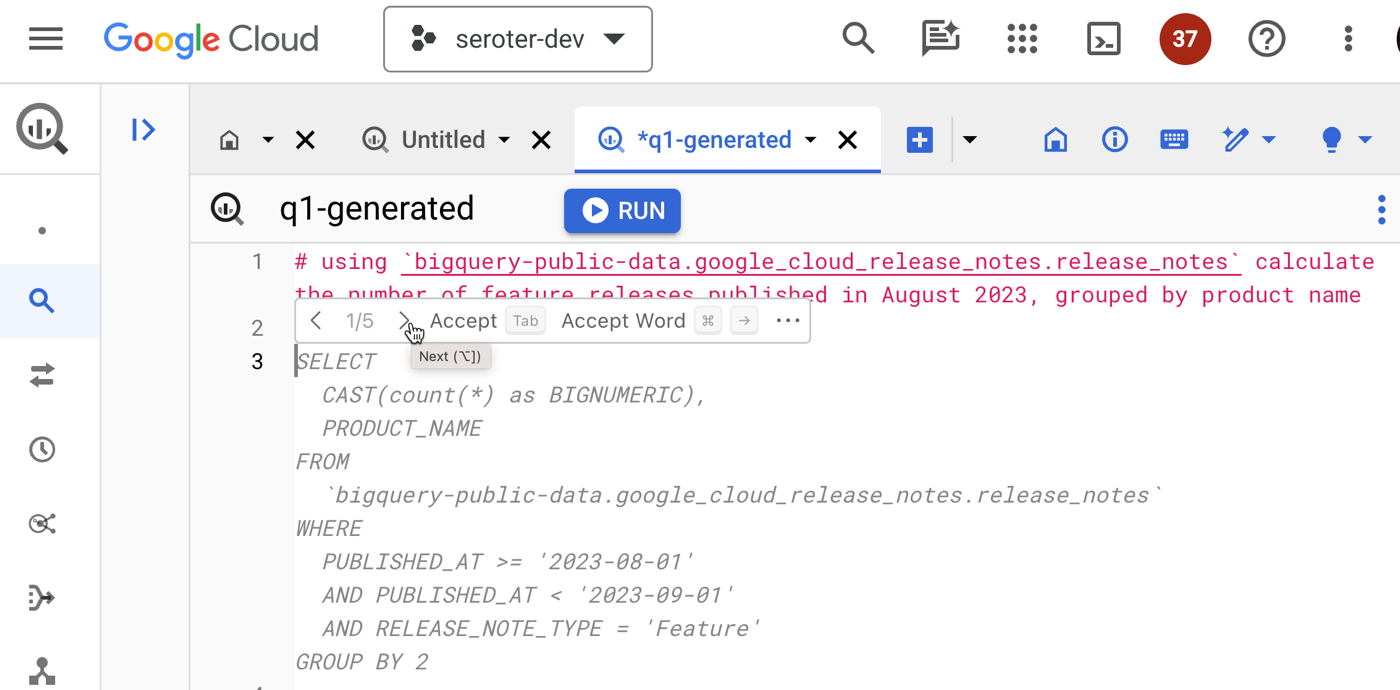
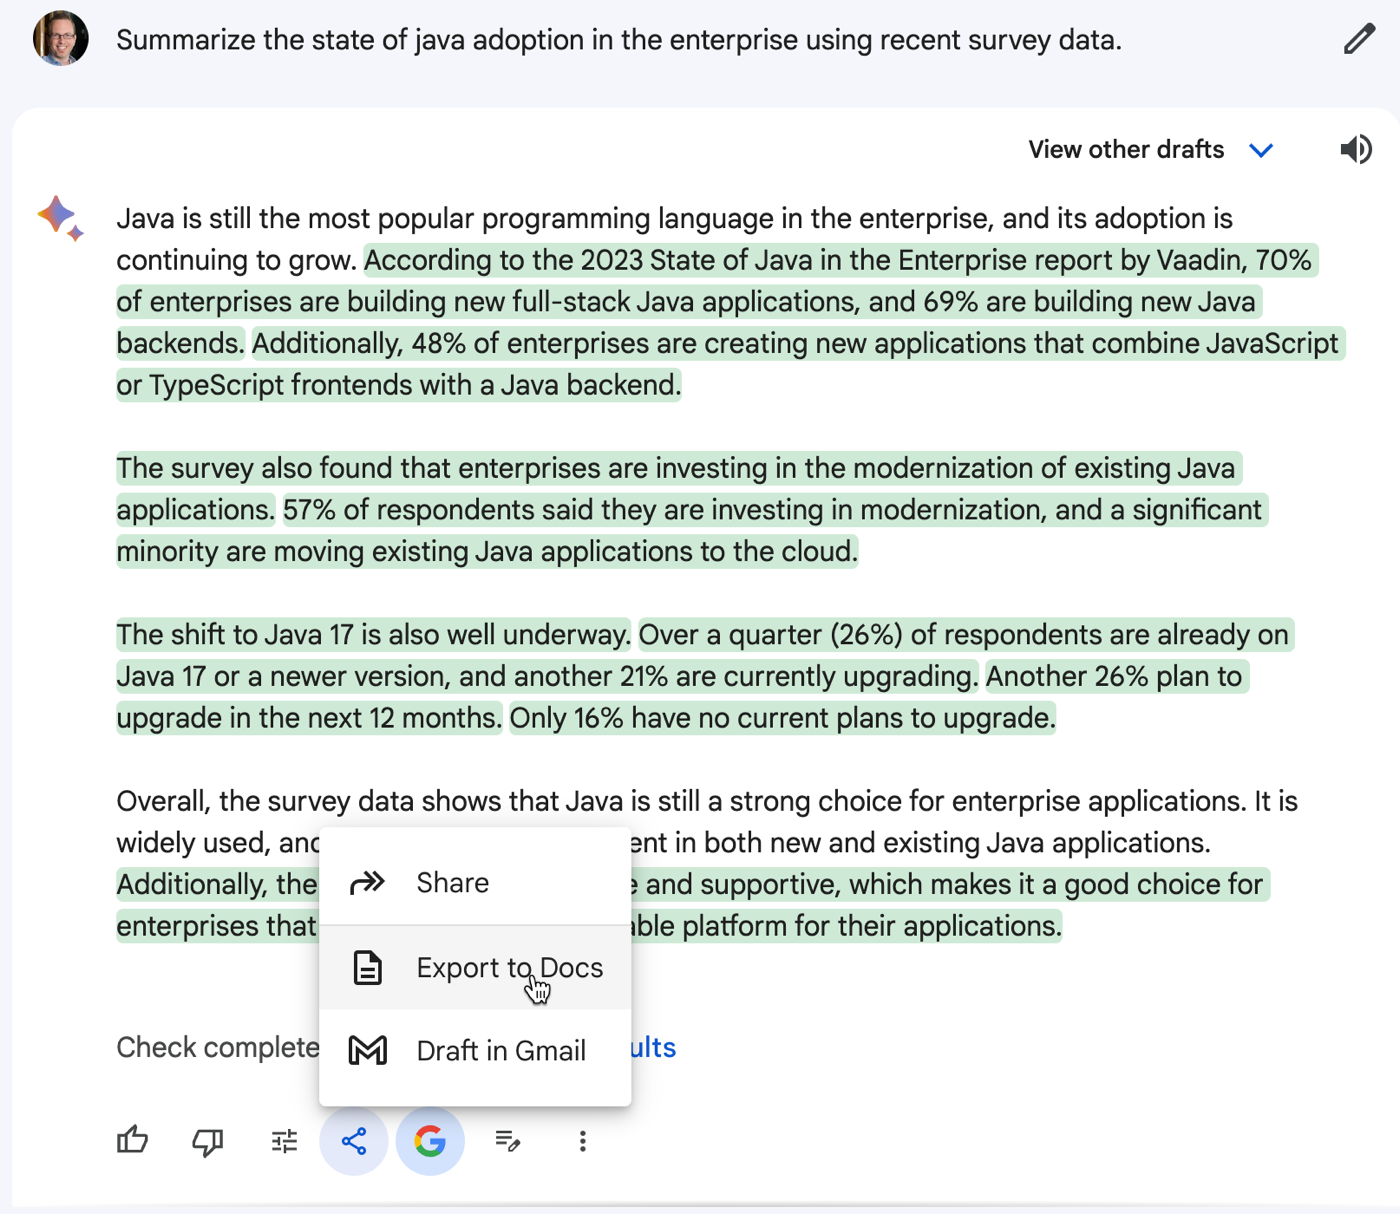
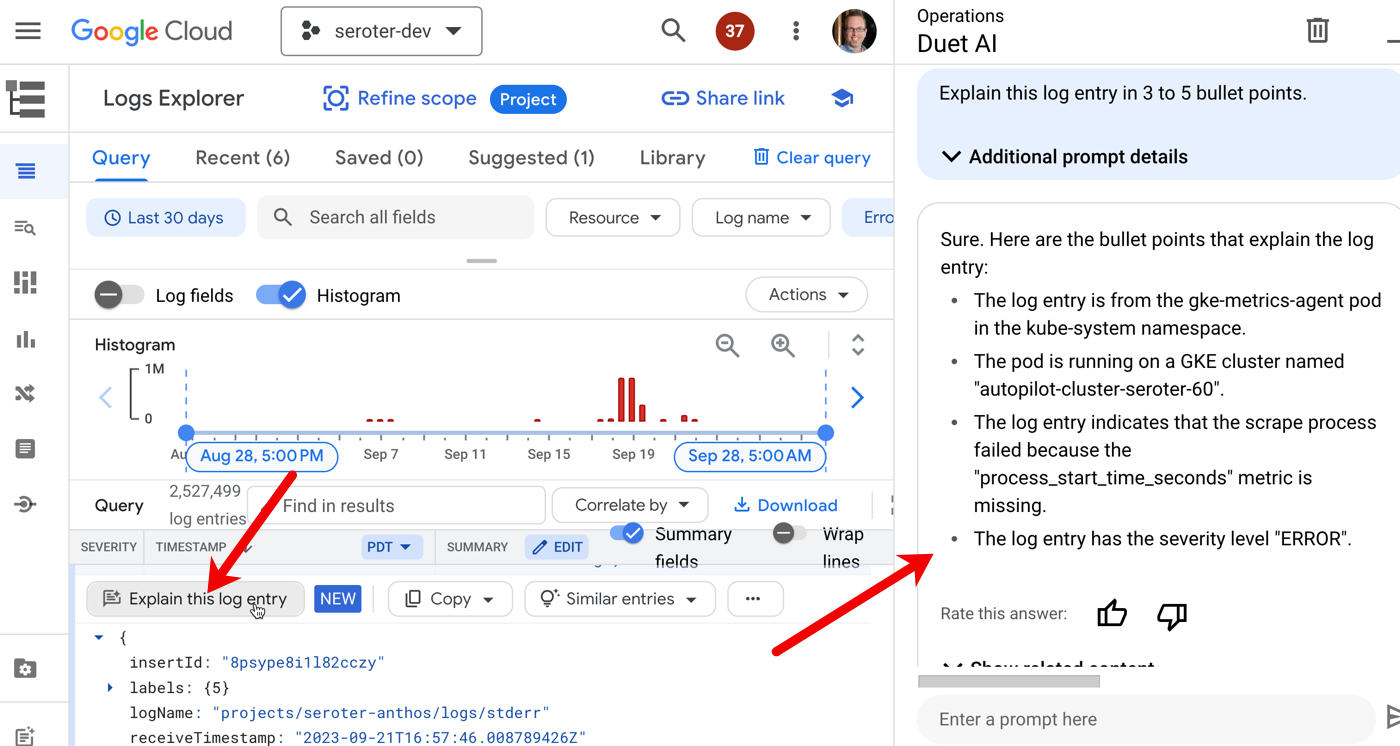
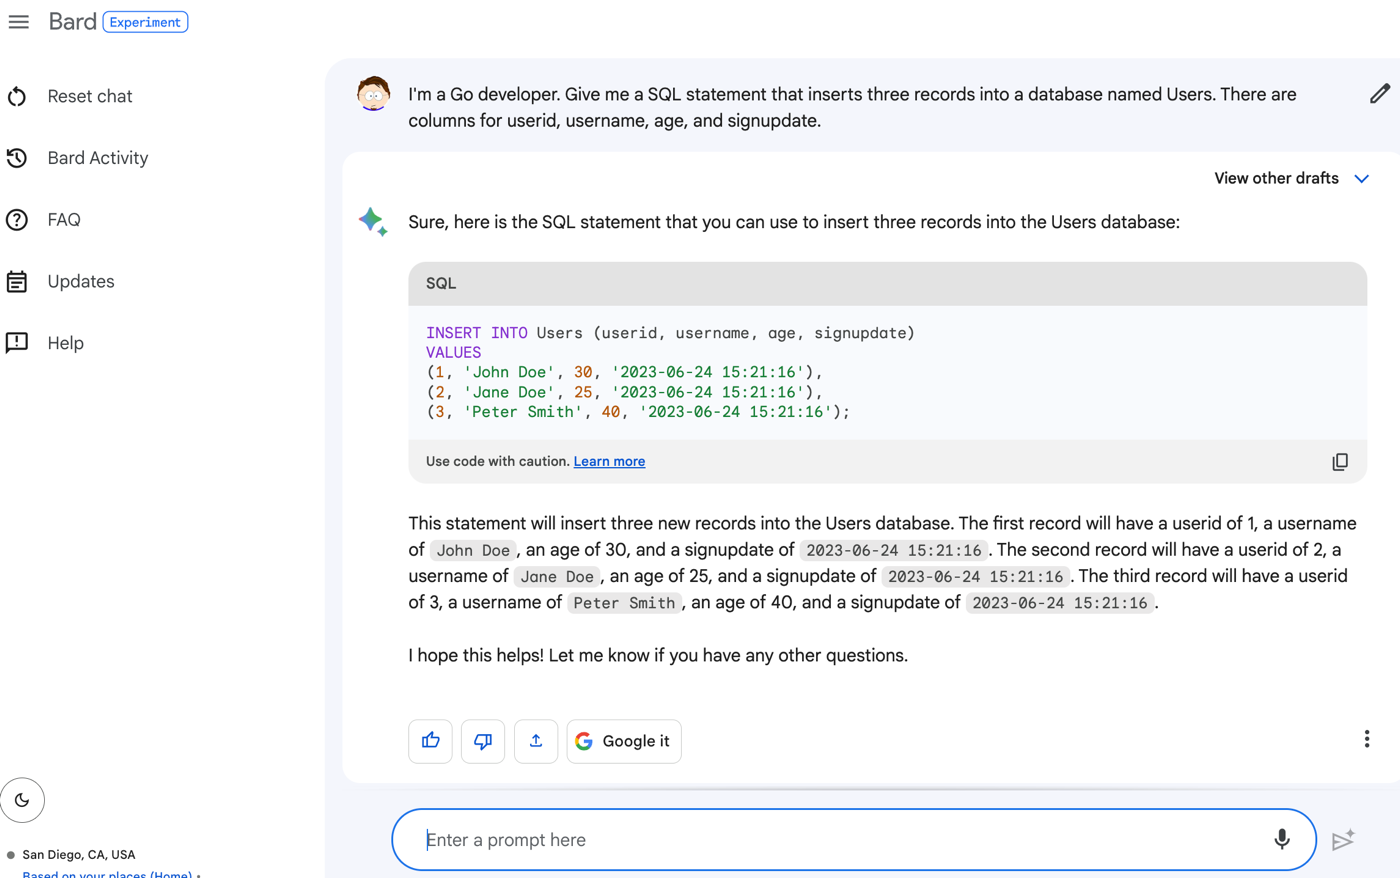
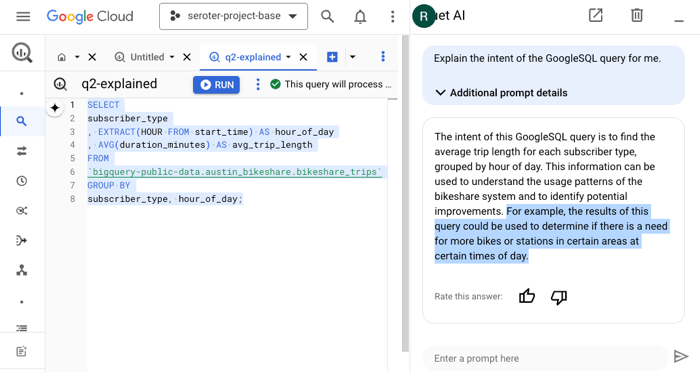
I might use something like Gemini (or ChatGPT, or whatever) to ask questions about the code base and get ideas for how something might be used. This is where the “generative” part is handy. When I use the Duet AI assistance in to explain SQL in BigQuery, I get back a creative answer about possible uses for the resulting data.

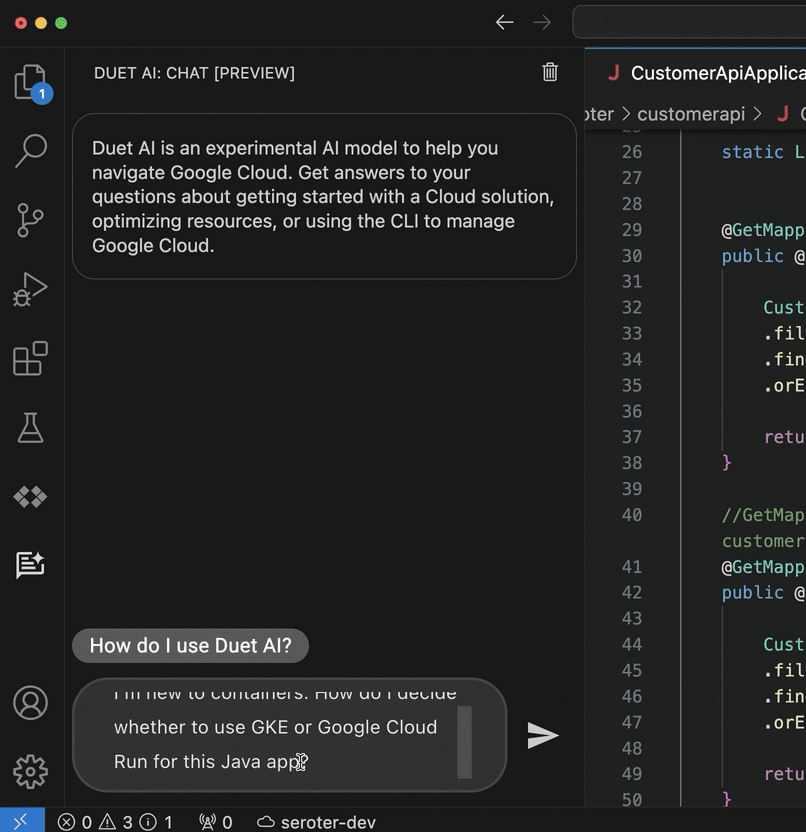
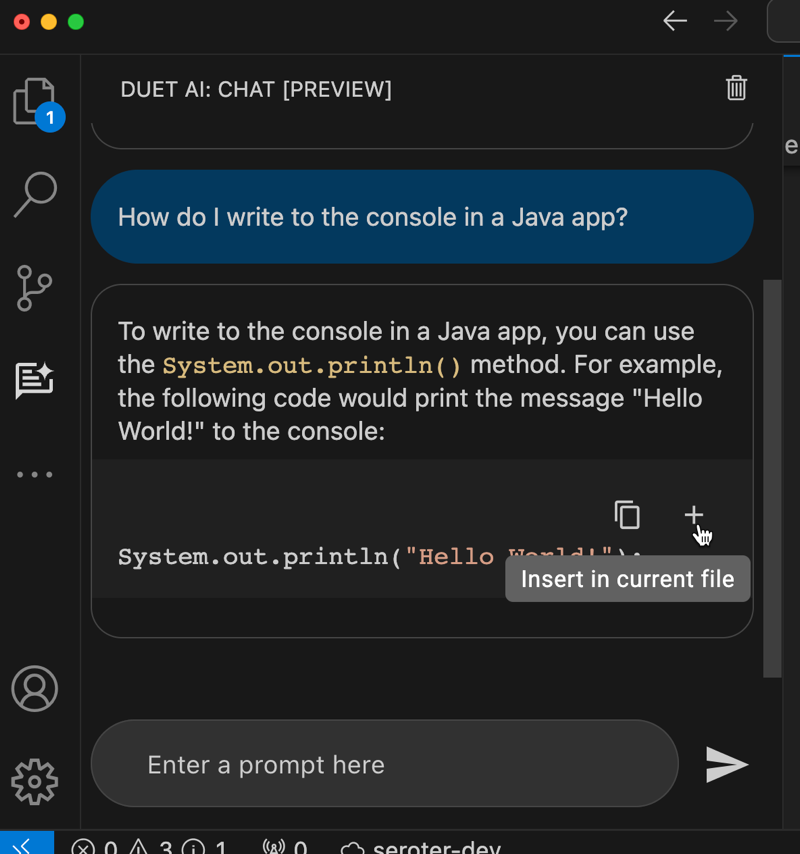
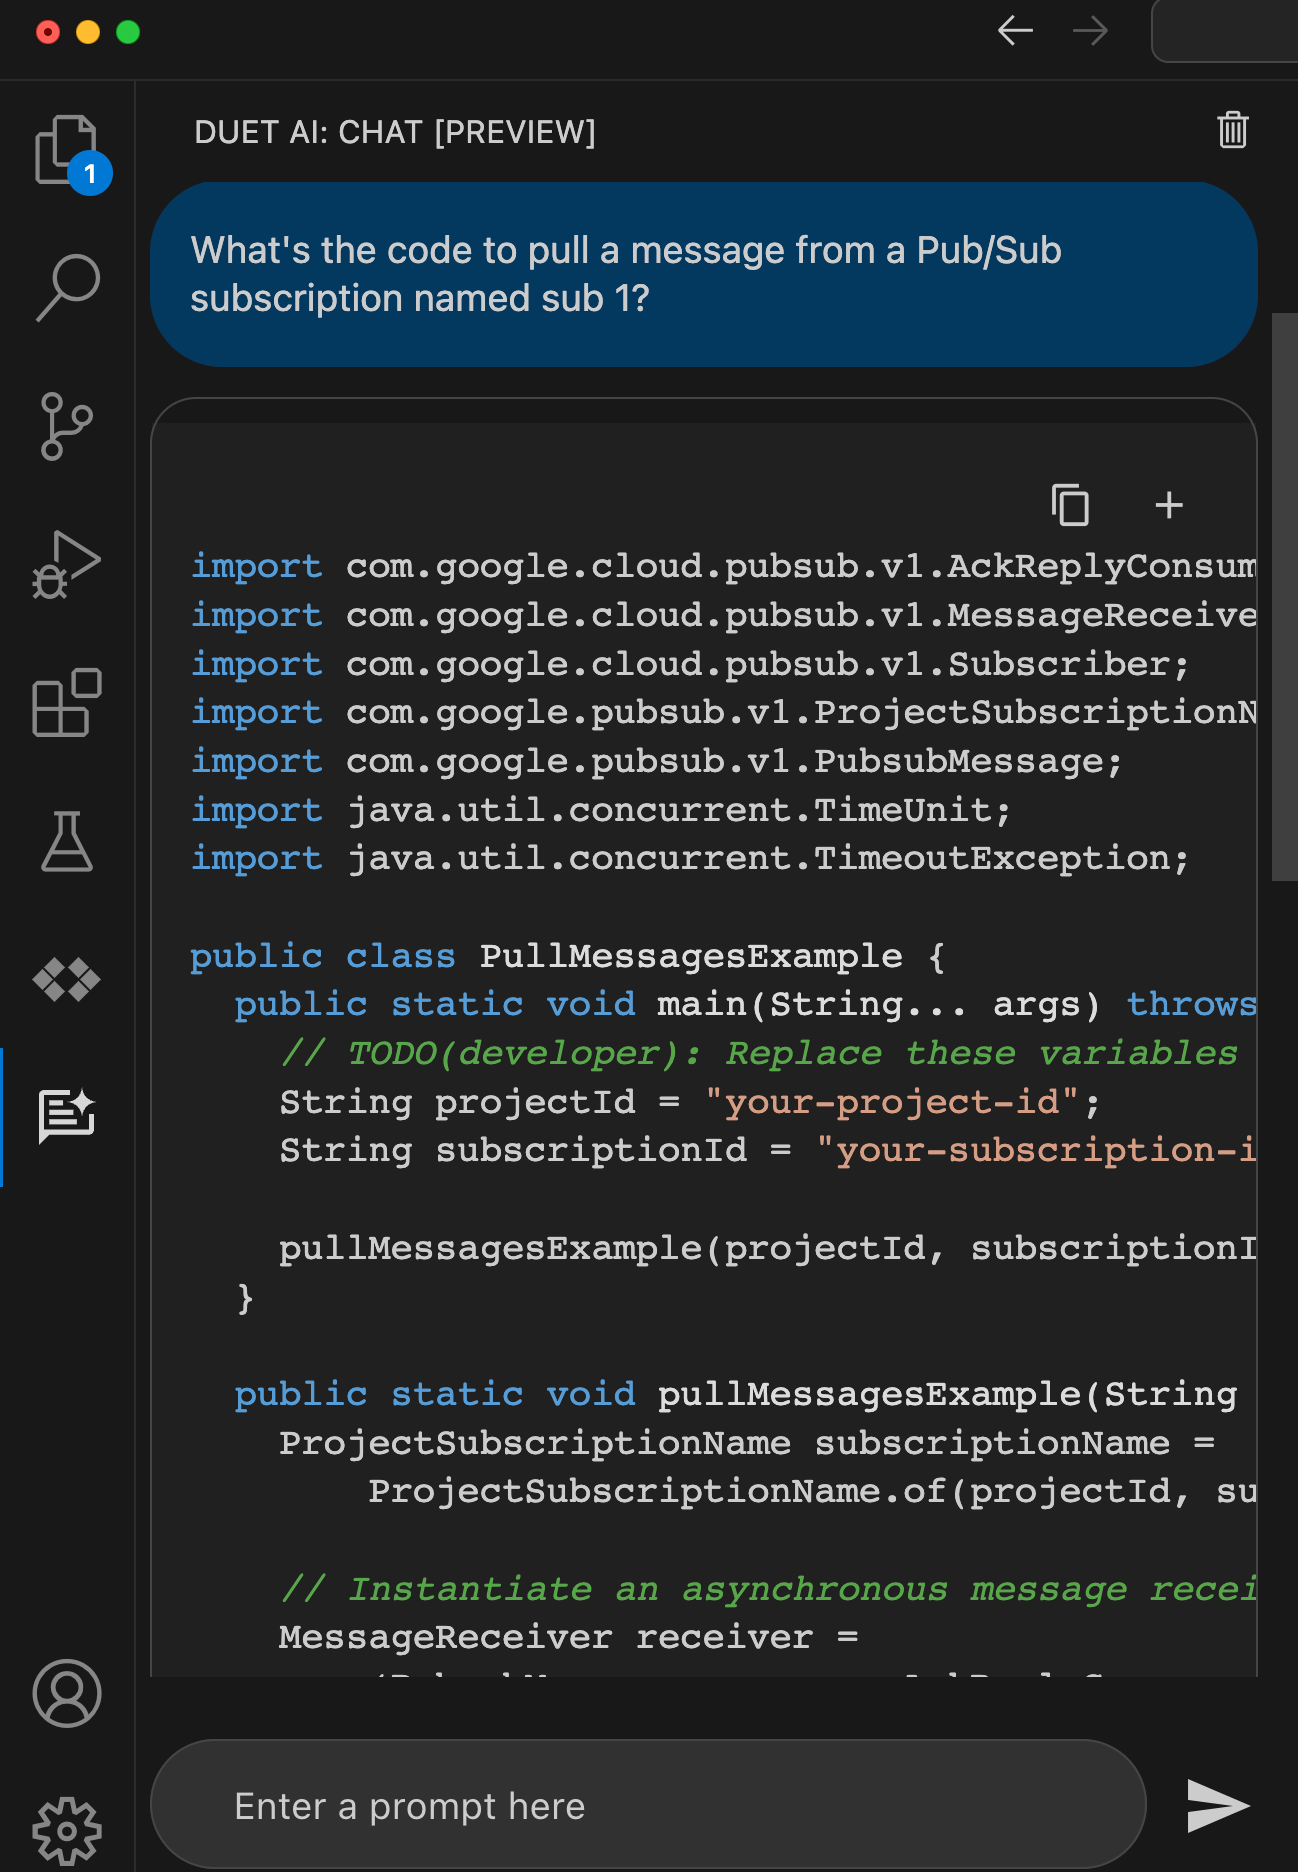
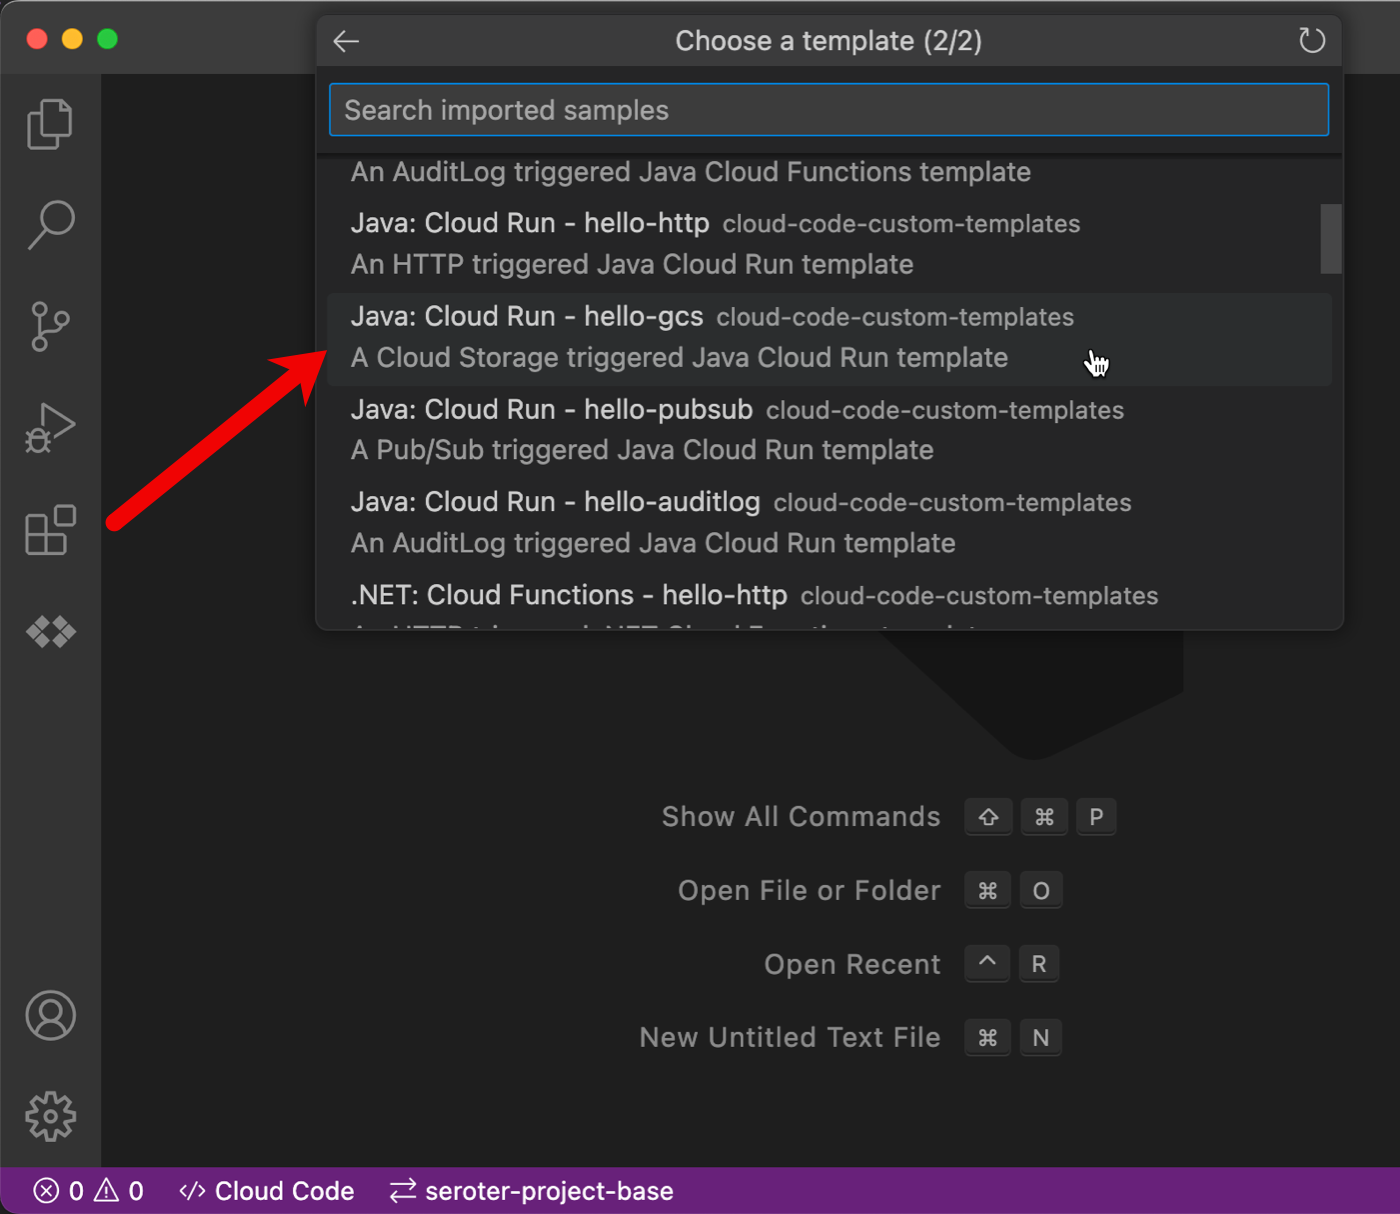
In your IDE, you might use Duet AI (or Copilot, Replit, Tabnine) to give detailed explanations of individual code files, shell scripts, YAML, or Dockerfiles. Even if you don’t decide to use any generative AI tools to write code, consider using them to explain it.
#2 Incorporate new language/framework features
Languages themselves modernize at a fairly rapid pace. Does your codebase rely on a pattern that was rad back in 2011? It happens. I’ve seen that generative AI is a handy way to modernize the code itself while teaching us how to apply the latest language features.
For instance, Go generics are fairly new. If your Go app is more than 2 years old, it wouldn’t be using them. I could go into my Go app and ask my generative AI chat tool for advice on how to introduce generics to my existing code.

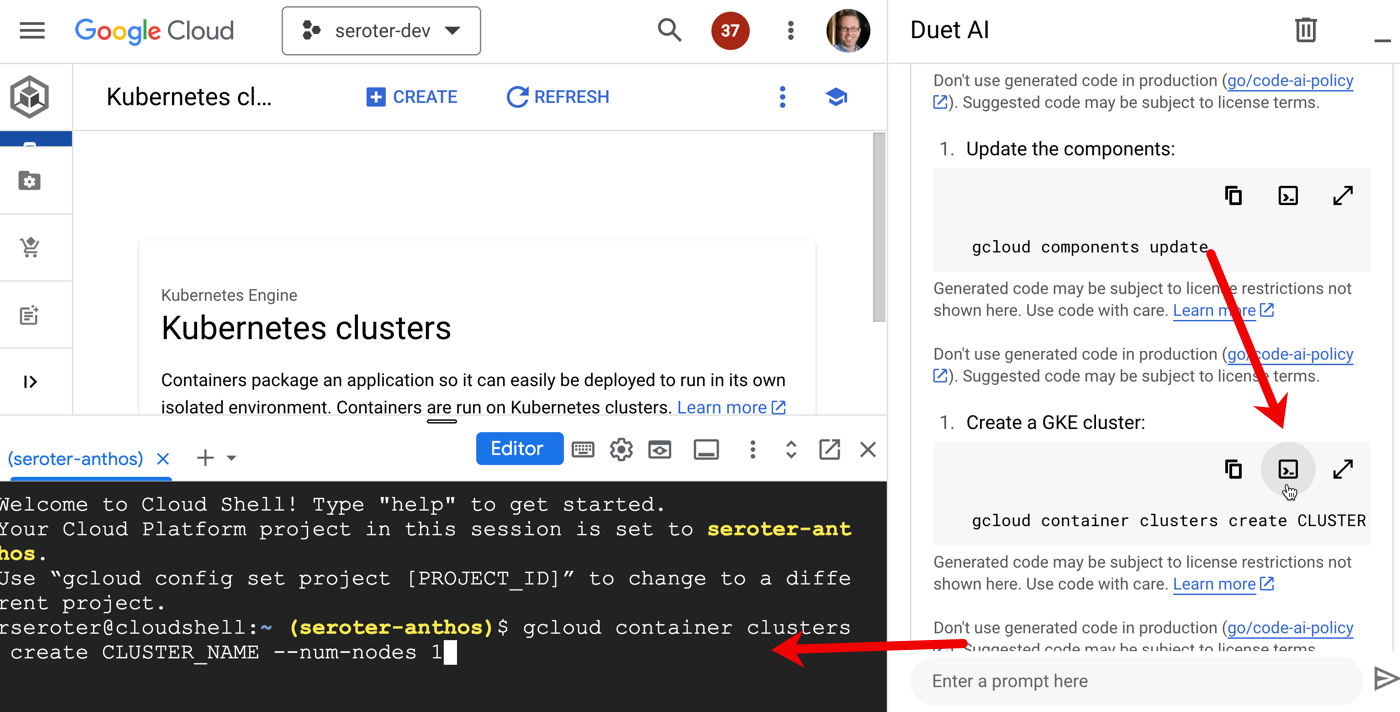
Usefully, the Duet AI tooling also explains what it did, and why it matters.

I might use the same types of tools to convert an old ASP.NET MVC app to the newer Minimal APIs structure. Or replace deprecated features from Spring Boot 3.0 with more modern alternatives. Look at generative AI tools as a way to bring your codebase into the current era of language features.
#3 Improve code quality
Part of modernizing an app may involve adding real test coverage. You’ll never continuously deploy an app if you can’t get reliable builds. And you won’t get reliable builds without good tests and a CI system.
AI-assisted developer tools make it easier to add integration tests to your code. I can go into my Spring Boot app and get testing scaffolding for my existing functions.

Consider using generative AI tools to help with broader tasks like defining an app-wide test suite. You can use these AI interfaces to brainstorm ideas, get testing templates, or even generate test data.
In addition to test-related activities, you can use generative AI to check for security issues. These tools don’t care about your feelings; here, it’s calling out my terrible practices.

Fortunately, I can also ask the tool to “fix” the code. You might find a few ways to use generative AI to help you refactor and improve the resilience and quality of the codebase.
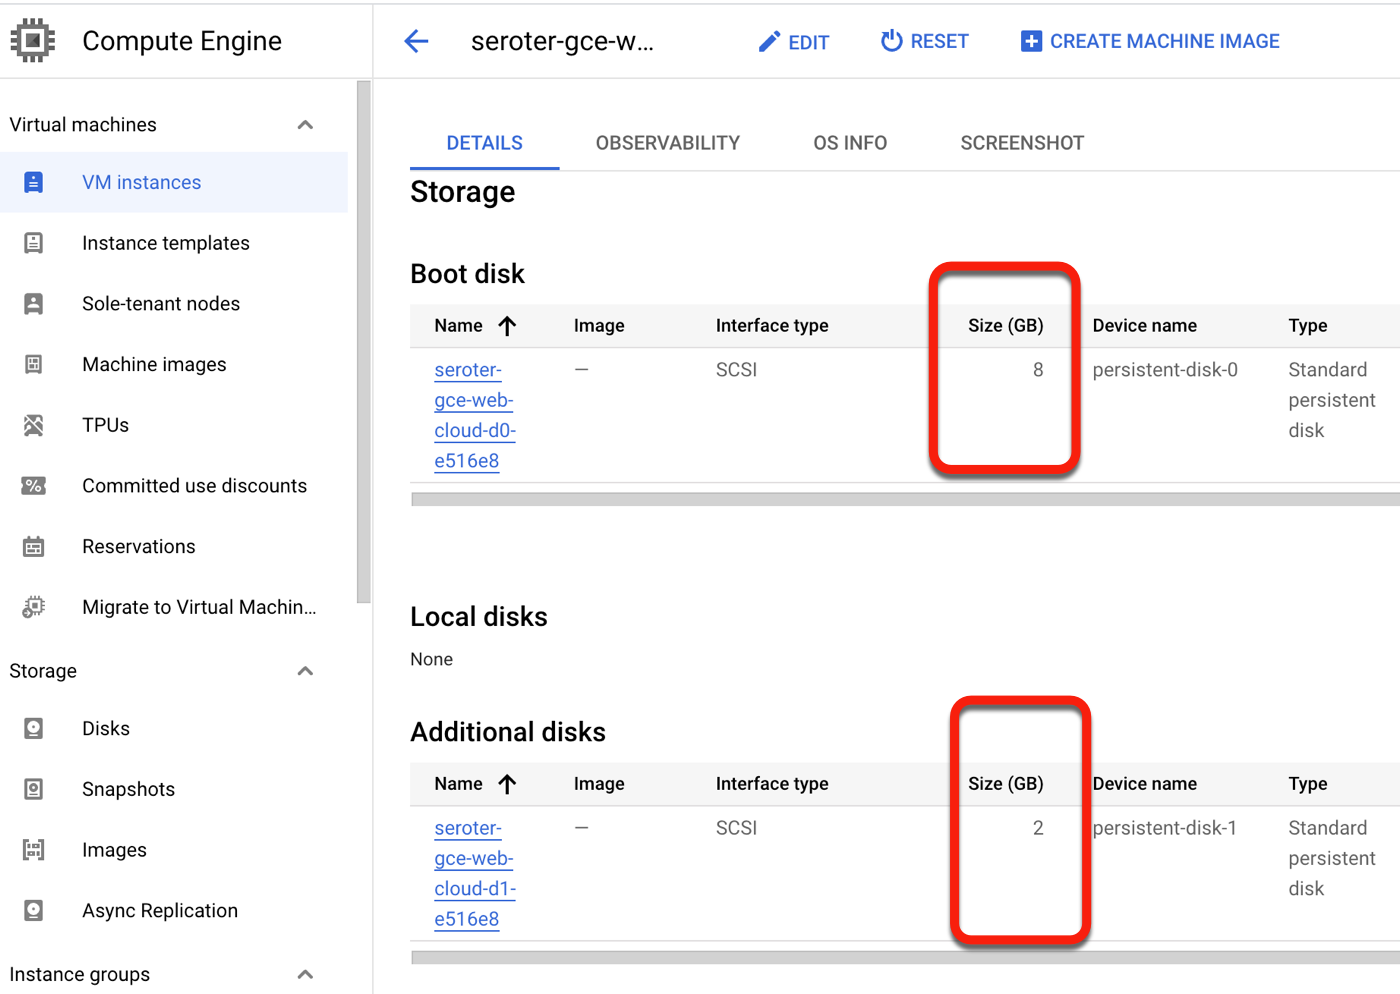
#4 Swap out old or unsupported components
A big part of modernization is ensuring that a system is running fully supported components. Maybe that database, plugin, library, or entire framework is now retired, or people don’t want to work with it. AI tools can help with this conversion.
For instance, maybe it’s time to swap out JavaScript frameworks. That app you built in 2014 with Backbone.js or jQuery is feeling creaky. You want to bring in React or Angular instead. I’ve had some luck coaxing generative AI tools into giving me working versions of just that. Even if you use AI chat tools to walk you through the steps (versus converting all the code), it’s a time-saver.
The same may apply to upgrades from Java 8 to Java 21, or going from classic .NET Framework to modern .NET. Heck, you can even have some luck switching from COBOL to Go. I wouldn’t blindly trust these tools to convert code; audit aggressively and ensure you understand the new codebase. But these tools may jump start your work and cut out some of the toil.
#5 Upgrade the architecture
Sometimes an app modernization requires some open-heart surgery. It’s not about light refactoring or swapping a frontend framework. No, there are times where you’re yanking out major pieces or making material changes.
I’ve had some positive experiences asking generative AI tools to help me upgrade a SOAP service to REST. Or REST to gRPC. You might use these tools to switch from a stored procedure-heavy system to one that puts the logic into code components instead. Speaking of databases, you could change from MySQL to Cloud Spanner, or even change a non-relational database dependency back to a relational one. Will generative AI do all the work? Probably not, but much of it’s pretty good.
This might be a time to make bigger changes like swapping from one cloud to another, or adding a major layer of infrastructure-as-code templates to your system. I’ve seen good results from generative AI tools here too. In some cases, a modernization project is your chance to introduce real, lasting changes to a architecture. Don’t waste the opportunity!
Wrap Up
Generative AI won’t eliminate the work of modernizing an app. There’s lots of work to do to understand, transform, document, and rollout code. AI tools can make a big difference, though, and you’re tying a hand behind your back if you ignore it! What other uses for app modernization come to mind?