Streaming is all the rage! No, not binge-watching Arrested Development on Netflix. Rather, I mean data stream processing: ingesting and handling infinite datasets. Instead of chewing through a nightly or weekly batch of records, you’re doing near real-time processing. Done correctly, this helps you improve data quality and make faster decisions. But how do you arrange the sequence of steps to process that data? Data pipelines! In this post, I’ll show you that this is yet another unexpected workload that runs pretty darn well on Pivotal Cloud Foundry (PCF).
So far in this series, we’ve looked at other workloads ranging from Docker images to batch jobs.
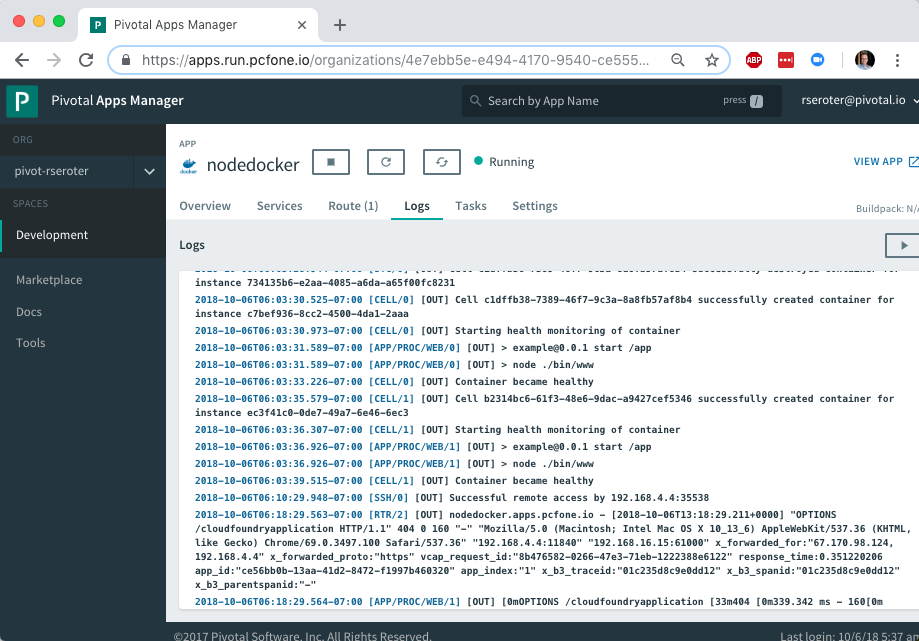
- Part 1 – Deploying and running Docker images
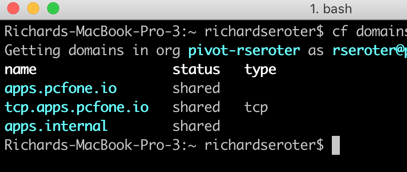
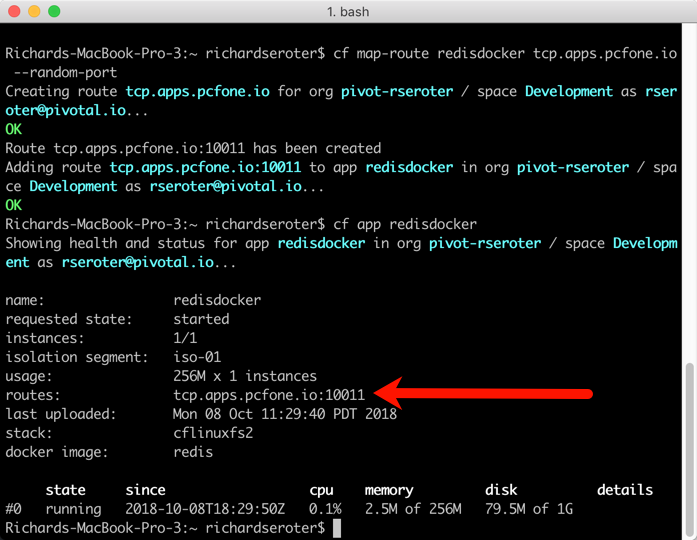
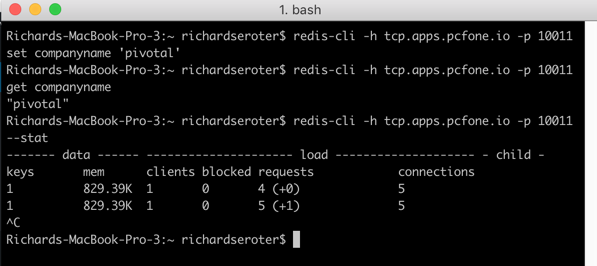
- Part 2 – Setting up TCP routable services
- Part 3 – Running batch and scheduled jobs
- Part 4 – Configuring data streaming apps
- Part 5 – Deploying .NET Framework apps to Windows Server
Let’s build a pipeline that processes a stream of shipment data that flows out of a relational database, gets enriched with additional info, and finally gets written to a log.
Spinning up Spring Cloud Data Flow on PCF
You could do streaming a few ways in PCF. You could manually deploy a PCF-managed instance of RabbitMQ, Solace PubSub+, or Apache Kafka. Or connect to a cloud-based broker like Azure Service Bus or Google Pub/Sub through a Service Broker. Any of those options give you a messaging backbone, but a data pipeline often involves a sequence of orchestrated steps. One turnkey solution that combines lightweight messaging with smart orchestration is Spring Cloud Data Flow (SCDF).
While it’s not that challenging to install SCDF yourself, PCF bundles it all up into a single package. All it takes is deploying the “Data Flow Server” from the PCF marketplace.

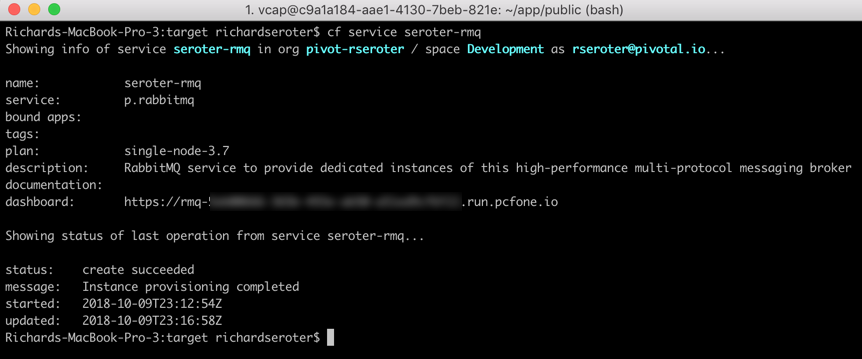
After BOSH built and deployed the Spring Cloud Data Flow server and dependent services (database, Redis cache, RabbitMQ instance), I also provisioned an instance of PostgreSQL from Crunchy Data. This is the source to my data stream.

That was easy. From this screen on PCF Apps Manager, I could click through and log into the SCDF dashboard. From here, I loaded all the Spring Cloud Stream App Starters. These are “just” Spring Boot apps, but we can use these to build data streams. We can build our own apps to, but it’s great to pre-load these starters. Note that everything I’m doing with this dashboard you can also do with a CLI.
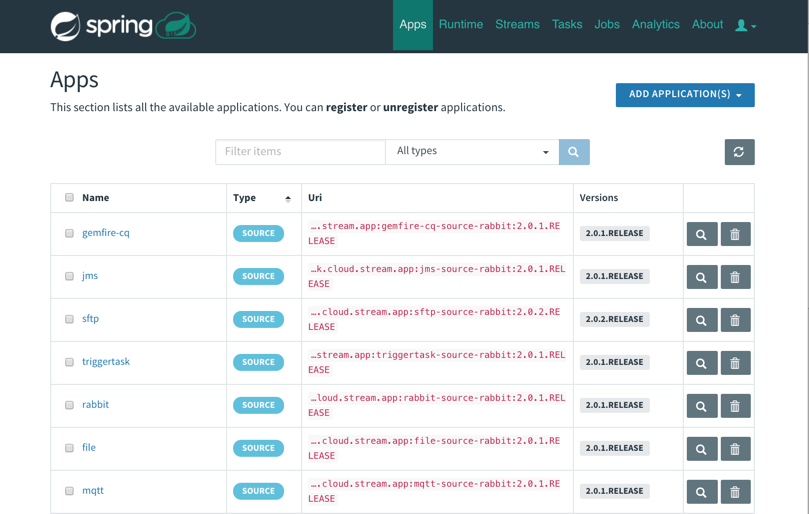
With that, I had everything I needed to build out my data pipeline.
Building and deploying a data pipeline
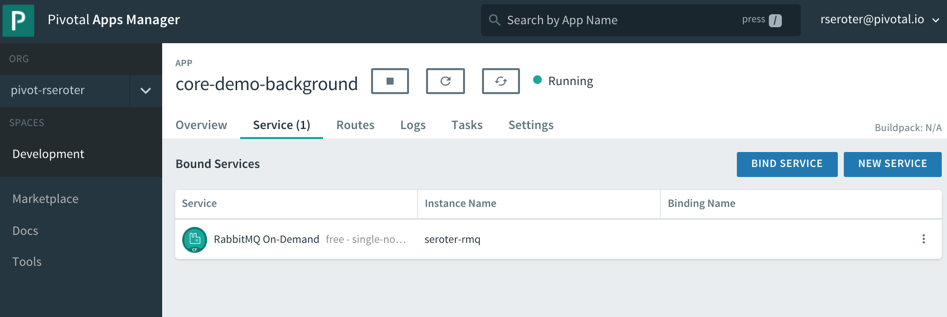
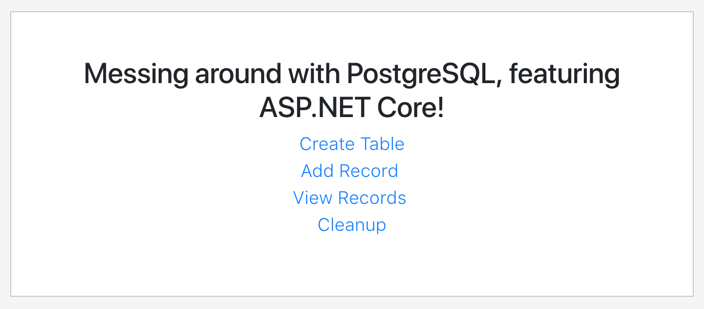
Before building my pipeline, I wanted to prep my PostgreSQL database. To do this, I built a simple ASP.NET Core app that created a data table and added records. I deployed this to PCF, bound it to the Crunchy Data instance, and now had a way to instantiate my relational database and add rows.
I wanted to enrich data as part of my data pipeline. When a “shipment” record comes out of PostgreSQL, it has an identifier for which warehouse it came from. I wanted to use that ID to look up the US state associated with the warehouse. I could try and use an out-of-the-box App Starter to do it, or just build my own. I chose the latter. What’s wicked is these are just Spring Cloud Stream apps. I created a new app from start.spring.io, created a POJO that represents a “warehouse shipment”, added an annotation and a method, and assembled the jar file. No other configurations needed!
@EnableBinding(Processor.class)
@SpringBootApplication
public class DemoPipelineEnricherApplication {

  public static void main(String[] args) {
     SpringApplication.run(DemoPipelineEnricherApplication.class,
  args);
  }

  @StreamListener(Processor.INPUT)
  @SendTo(Processor.OUTPUT)
  public shipment EnrichShipment(shipment s) {
    switch(s.warehouse_id) {
    case 400:
        s.warehouse_location="CA";
        break;
    case 401:
        s.warehouse_location="WA";
        break;
    case 402:
        s.warehouse_location="TX";
        break;
    case 403:
        s.warehouse_location="FL";
        break;
    }
    return s;
  }
}
To make this app available to my new data pipeline, I needed to register it with the SCDF server. That means the jar file needed to be visible to the server. I uploaded the jar file to GitHub (better choices include the Maven repo, or another legit artifact repository) and registered it:

It’s pipeline time! I designed a pipeline that started with a JDBC source, sent the individual rows to my “enricher” app, and then routed the results to the application log. For fun, I also tapped that result stream to count how many messages came in for each US state.

The pipeline definition is something you can add to source control and version like any other deployment artifact. My pipeline looks like:
warehouse-stream=jdbc
--spring.datasource.username='[username]'
--spring.datasource.url='jdbc:postgresql://[url]:5432/shipments'
--jdbc.max-rows-per-poll=5 --jdbc.query='SELECT * FROM WarehouseShipments WHERE
is_read=FALSE' --jdbc.update='UPDATE WarehouseShipments SET is_read=TRUE WHERE
is_read=FALSE;' --spring.datasource.password='[password]' |
demo-enricher | log
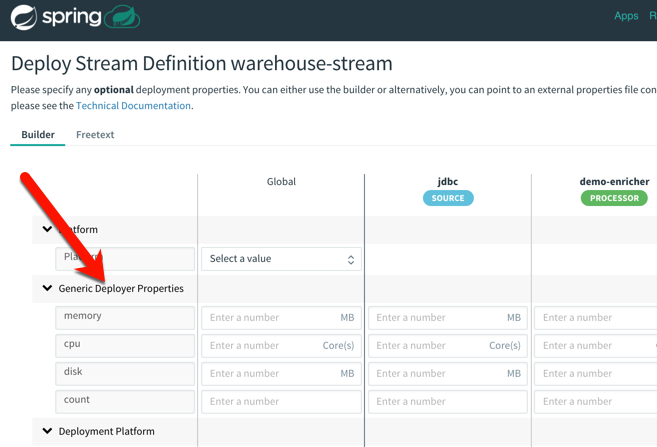
What’s cool is that after creating the stream, I had all sorts of deployment options for each app in the pipeline. That means that each app could have its own instance count and resource allocation. Much better than coarsely scaling the whole pipeline when just one component needs to scale!
After deploying the streams, I saw the underlying Spring Boot apps deployed to my PCF environment. SCDF is pretty sophisticated but still an easy-to-use platform!
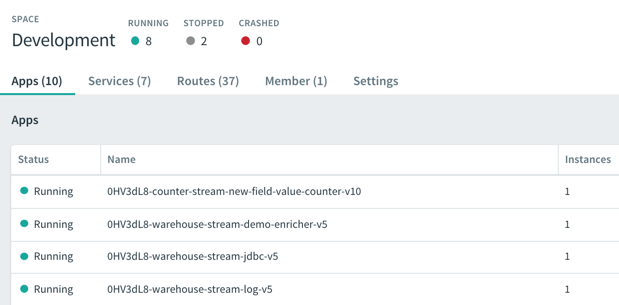
I continually added records to my PostgreSQL database, and saw them immediately stream through SCDF on PCF. Each individual message got enriched with additional details before printing out to the log.

In this post, we saw that data pipelines have a natural home in PCF. Spring Cloud Data Flow is an ideal replacement for heavyweight ESB products in certain scenarios, and a replacement for ETL in others. Give it a try on PCF, Kubernetes, or other runtimes.